BUYING GUIDES
How to Choose a Cutting Board for a Farmhouse Kitchen
Choose a cutting board for a farmhouse kitchen by comparing wood, size, useful features, storage, and care.
The short answer
A cutting board for a farmhouse kitchen should suit the room, but it still needs to work for daily prep. Choose the material, size, and details around how you cook and clean.
- Coordinate the board’s wood tone and grain with the kitchen without sacrificing a practical work surface.
- Compare wood species and grain construction, and confirm the board’s finish is intended for food contact.
- Measure the counter and consider board weight before settling on a size.
- Choose grooves, handles, or a reversible surface only if they help with your routine.
- Plan for hand-washing, full drying, and occasional oiling when choosing a wooden board.
How do you match the board to your farmhouse style?
A farmhouse kitchen can take a board with natural grain and a quiet, warm finish, but decoration should not make everyday chopping awkward. Start with your cabinets and counters, then choose a board that looks at home without demanding special treatment. A cutting board is a working surface first; its good looks are a bonus you get to see every day.
Choose a wood tone that works with your cabinets and counters
Look at the room’s fixed colors before choosing a board. Pale wood can sit comfortably against white cabinets, butcher-block counters, or a light stone surface, while a warmer or darker wood creates more contrast. If your kitchen already has several strong wood tones, a simpler board usually looks more settled than one trying to match every surface exactly.
Natural wood varies from board to board, so a photo or sample is only a guide to the general tone. You can use grain and color as a small accent rather than treating the board like another cabinet finish. That gives you some visual warmth without making the counter feel busy.
Balance rustic character with a clean, practical look
A little variation in the grain brings the lived-in quality people often want in a farmhouse kitchen. Deep cracks, rough edges, or decorative details that trap food are a different matter. For a board that will see regular knife work, choose a smooth, stable surface and let the wood itself provide the character.
You can keep a decorative board for serving or display and use a separate, unadorned board for messy prep. That distinction is especially useful if you often handle raw meat. For food-safety basics on separating prep tasks, see this guide to separate boards for meat and vegetables.
Use grain and edge details as visual accents
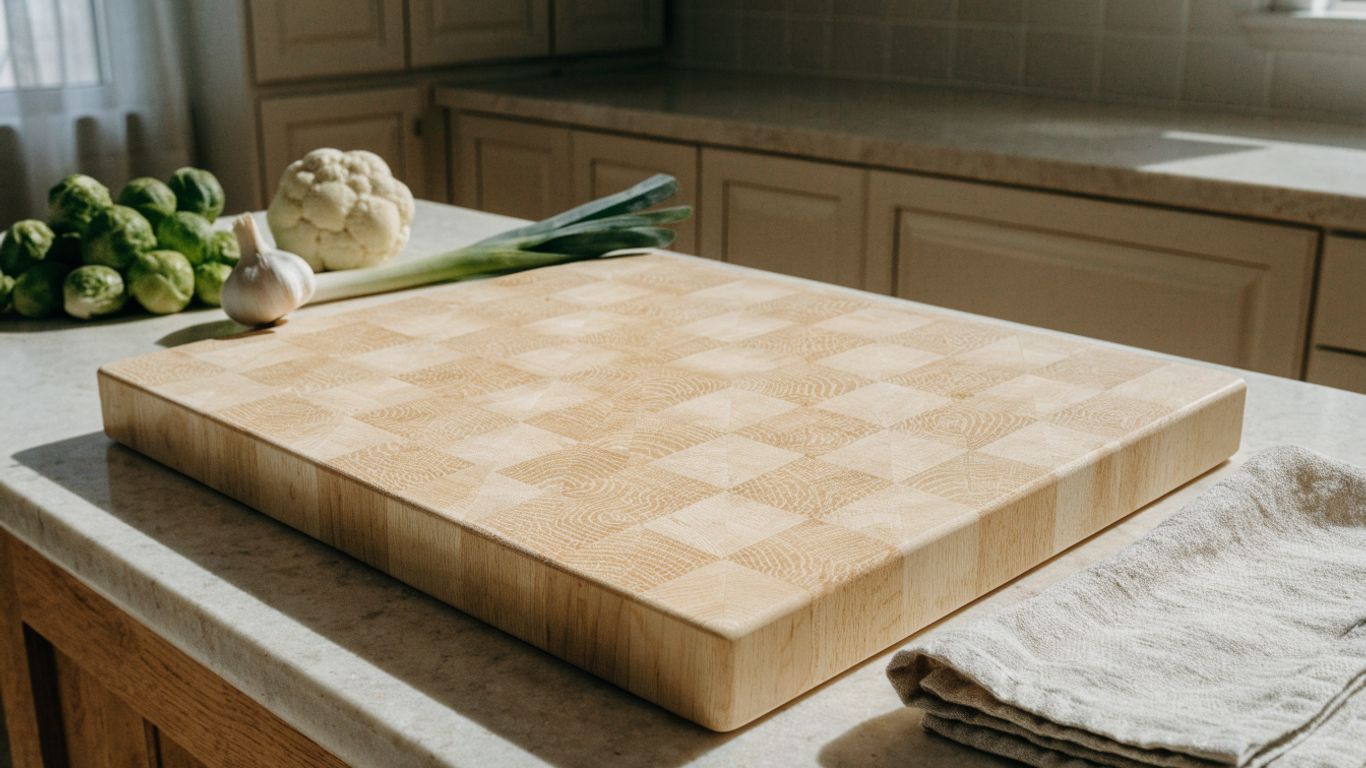
Grain direction and edge profile affect the board’s appearance without needing extra ornament. Long, even strips create a quieter pattern; end-grain construction has a more block-like appearance. Neither is automatically the right choice for a farmhouse kitchen. Think about whether you prefer a plain surface that blends in or a more noticeable pattern that earns a place on the counter.
Keep the surrounding counter fairly clear if you want the board to read as an accent. A bowl of fruit or a crock of utensils may be enough; a row of decorative objects can make even a useful board look like one more thing to move before dinner.
Which wood and construction suit everyday use?
For regular prep, choose a board made from a suitable hardwood with a clear, food-safe finish and solid construction. Maple, walnut, and cherry offer different looks, while edge-grain and end-grain describe how the wood pieces are oriented. There is no need to choose by appearance alone; what you cook and how you maintain the board matter, too.
Compare maple, walnut, and cherry for color and durability
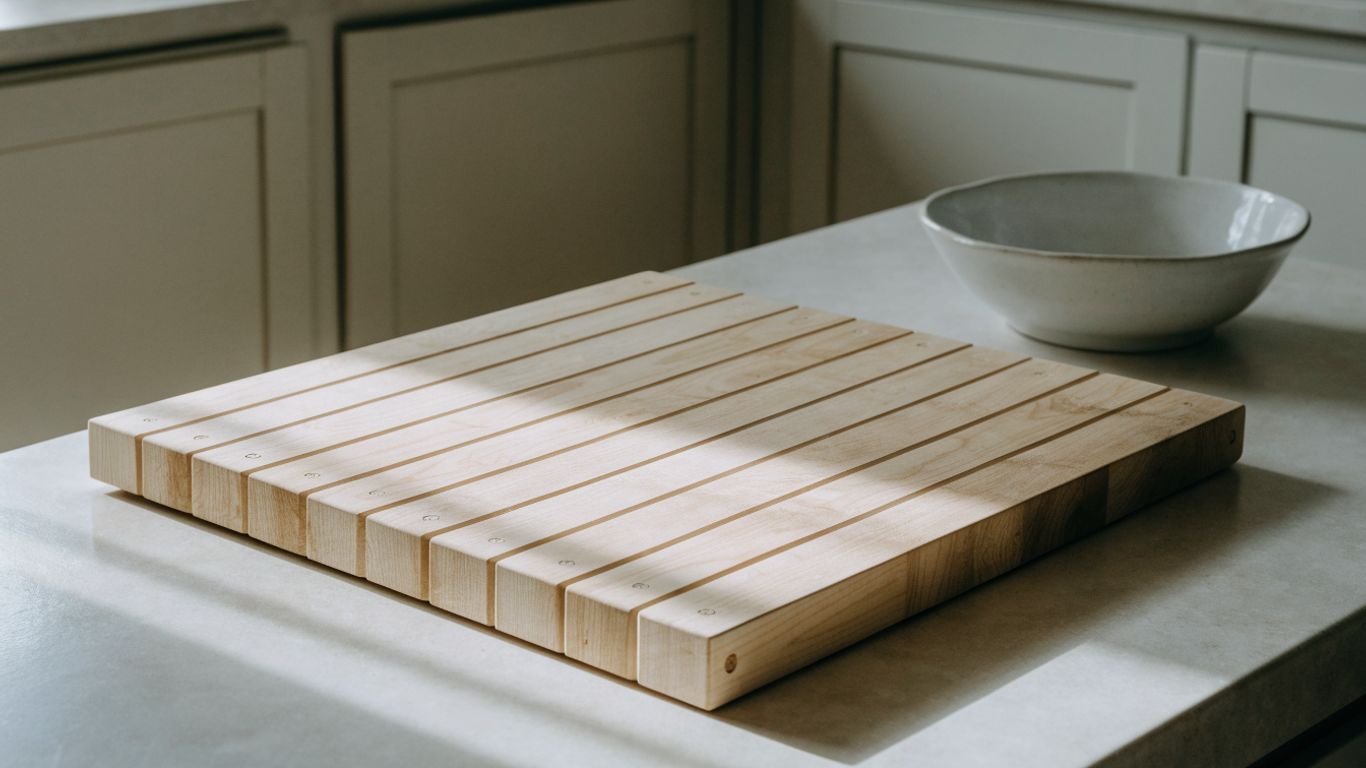
Maple is light and relatively subtle in appearance, walnut is darker, and cherry tends toward a warmer reddish-brown tone. All three are commonly used for wooden cutting boards, but the exact color and grain vary with the individual board. For a farmhouse kitchen with pale cabinets, maple keeps the look light; walnut gives a pronounced contrast, and cherry can add warmth.
This quick comparison can help you narrow the visual choice. The species alone does not tell you everything about quality, so still inspect the construction and finish.
| Wood | Typical appearance | A practical consideration |
|---|---|---|
| Maple | Pale, understated grain | A light look that pairs easily with many counters |
| Walnut | Deep brown tones | A stronger contrast against light cabinetry |
| Cherry | Warm, reddish-brown tones | Color and grain can vary naturally |
If you want a closer look at these three species, this maple, walnut, and cherry comparison discusses their differences. Bevel & Bond End-Grain Maple Cutting Board is made from North American hard maple, a documented option if you prefer a pale wood tone and end-grain construction.
Understand the difference between edge-grain and end-grain boards
Edge-grain boards are made with the long edges of the wood pieces facing up, creating long, parallel lines across the surface. End-grain boards show the ends of the wood fibers, often arranged in a block pattern. Both constructions can make a useful board; the choice affects appearance, price, weight, and how the board is built.
Look closely at the joints and surface instead of assuming a particular grain style guarantees better workmanship. A clear explanation of how the board is assembled is more useful than a label alone. If construction is your deciding factor, this edge-grain and end-grain guide explains what the terms mean in practice.
Avoid boards made from wood or finishes that are not food-safe
A cutting board should be made from wood and materials suitable for food contact, with a finish intended for that use. Ask what the finish is and whether the maker recommends it for food-prep surfaces; “natural” by itself is not a useful specification. A board intended only as decor or serving ware may not be finished or built for repeated knife work.
If you use the board for raw meat, keep the cleaning routine in mind as well as the material. Follow USDA safe-handling guidance, wash the surface after use, and avoid using the same unwashed area for ready-to-eat foods. Choosing a clear finish and care plan up front saves guesswork later.
What size fits your kitchen and cooking habits?
Choose a board that gives you room to work while leaving enough counter space to move comfortably. A generous surface is handy for chopping several ingredients, but a heavy board can be a chore to carry to the sink. Measure the actual work area and consider your usual prep before buying.
Measure counter space before choosing a board
Measure the open counter where you plan to use the board, not just the length of the countertop. Include room for a knife, a bowl, and the space you need to move food off the board. If the board will sit beside a sink, check that it does not crowd the faucet or block a useful landing area.
A common starting point is around 15 × 20 inches for a roomy prep surface, though that size will not suit every kitchen. Smaller counters may call for a more compact board. For practical dimensions and use cases, see this guide to choosing the right cutting board size. If sink fit is part of the puzzle, you can also browse accessories for farmhouse and apron-front sinks while considering the space around the basin.
Decide whether you need one all-purpose board or a set
One board may be enough if you mainly prepare vegetables, bread, and fruit and can wash it between tasks. A set can make separate prep easier, particularly when you want to keep raw meat apart from produce. The trade-off is more storage space and more surfaces to clean.
Think through a typical meal rather than buying a set because it looks tidy in a product photo. For many cooks, one larger board plus a smaller board for a separate task is a manageable arrangement. A useful board should fit your routine, not create a new storage problem.
Consider board weight when moving it between counter and sink
Thickness and overall size add weight, and a full-size wooden board may be awkward to lift when your hands are wet. If you wash the board after every use, imagine carrying it from its storage spot to the sink and back. Finger grips can help with handling, but they do not make a heavy board weightless.
The Bevel & Bond End-Grain Maple Cutting Board measures 17 × 13 × 1.75 inches and weighs about 10 pounds, so compare those documented dimensions and weight with your counter and washing routine. The right choice is not the largest board you can fit; it is one you can use and clean without a struggle.
Which features make prep easier?
Useful features solve a real problem in your kitchen; otherwise, they are just details to clean around. A groove can catch some liquid, handles can help with lifting, and a reversible surface may offer another usable side. Decide which of those jobs you actually need before paying for extra machining.
Decide whether a juice groove suits your cooking
A juice groove can help contain liquid from juicy produce or carving, but it reduces the flat area available for chopping and takes a little extra attention during cleanup. If you mostly slice vegetables and transfer them straight to a pan, a plain edge may be more convenient. If you often carve or work with juicy ingredients, a groove may earn its place.
Bevel & Bond End-Grain Maple Cutting Board has a juice groove. That is a specific feature, not a reason to assume every cook needs one; consider whether you will use it often enough to justify the added channel.
Weigh the convenience of handles against a clean-sided design
Finger grips or handles can make it easier to lift a board, especially when it is substantial. They also change the board’s outline and can make a clean-sided design harder to find. Check where the grips sit and whether they feel comfortable for the way you lift and carry kitchen equipment.
The Bevel & Bond End-Grain Maple Cutting Board has finger grips and non-slip feet. For a broader look at the trade-off, read about cutting boards with handles versus without. If you prefer a simple edge, there is nothing wrong with skipping handles and lifting from the sides.
Consider whether a reversible board gives you useful extra workspace
A reversible board can provide another usable face, but only if both sides are practical for your tasks. A groove or feet may affect how the board sits when turned over, so check the design details instead of assuming that “reversible” means identical use on both sides. Also decide where you will set the board while flipping it; a wet counter is not a helpful landing spot.
A second face can be handy when you need a fresh surface, but it does not replace washing the board after food-safety-sensitive tasks. Keep your routine simple: use the surface as intended, clean it promptly, and let both sides dry thoroughly.
How can you make the board easy to display and store?
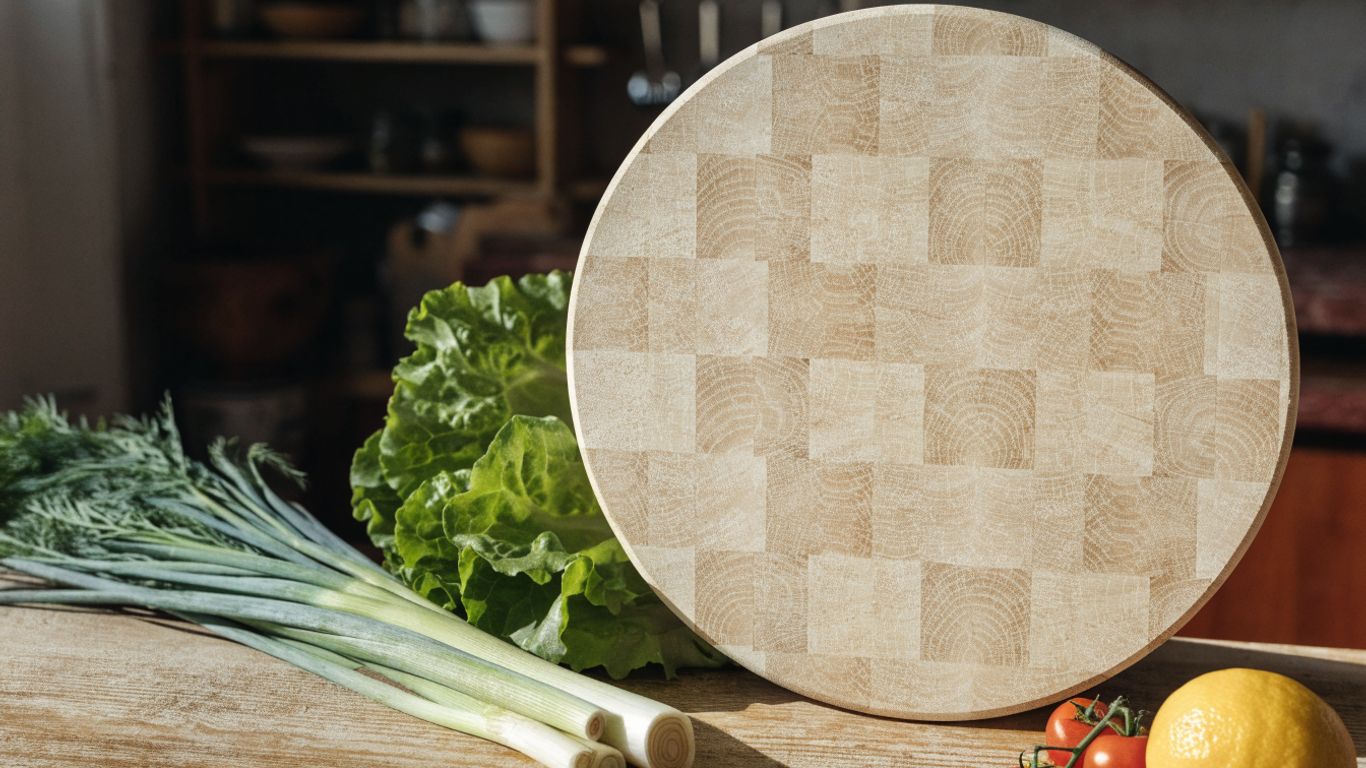
A board can live on the counter if the spot is dry, convenient, and away from heat. Otherwise, store it upright or on a rack that lets air reach both faces. The practical aim is to keep the board accessible without leaving it beside a burner or in a damp corner.
Use a leaning spot that stays clear of heat and splashes
Choose a place where the board can lean securely and will not get splashed by the sink or exposed to stove heat. A narrow gap beside a cooktop may look convenient, but it can be a poor home for wood. Leave enough room to lift the board without knocking over nearby jars or utensils.
If you display a board, make sure its lower edge is not sitting in standing water. A dry, steady spot makes the board easy to reach and easier to keep clean.
Choose storage that allows airflow on both sides
After washing, let a wooden board dry upright so air can reach both faces. Avoid putting it away while damp or leaving it flat on a wet counter. A simple rack or open shelf can work if the board is stable and not wedged tightly between other items.
A tidy storage plan is usually a short list of habits rather than a special cabinet:
- Set the washed board upright to dry.
- Keep both faces clear of towels and other damp items.
- Store it away from direct heat and standing water.
- Leave enough room to remove it without scraping nearby cookware.
That small amount of airflow and access makes it easier to put the board away consistently. If your kitchen is short on shelf space, measure the storage opening as well as the counter before choosing a thick or oversized board.
Keep display boards separate from boards used for messy prep
A board used for serving bread or fruit can also be attractive on display, but the one you use for raw meat or wet prep needs regular washing and drying. Keep decorative pieces separate if their finish or shape is not meant for knife work. That way the board on show is not quietly carrying yesterday’s dinner cleanup.
If one board does both jobs, wash it thoroughly after prep before returning it to display. A clean, dry board is easier to trust and looks better on the counter anyway.
What care needs and build quality should you check before buying?
Look for a board with even joinery, a smooth surface, and a plainly described finish. Then make sure you are willing to follow the care instructions: wooden boards need hand-washing and thorough drying, not a trip through the dishwasher. A sound purchase is one whose upkeep fits your ordinary kitchen routine.
Look for tight joints, a smooth surface, and stable construction
Inspect the board’s surface for rough patches, open gaps, or joints that look uneven. The board should sit steadily on the counter rather than rocking during ordinary prep. Grain variation is normal in wood; a visible defect or poor fit at a joint is a different matter.
Ask how the board is constructed and what materials are used to join it. A maker who can answer plainly is more helpful than a vague claim that a board is “handcrafted” or “premium.” For a broader pre-purchase inspection, use this cutting board buying checklist.
Check that the finish is food-safe and easy to maintain
Ask whether the finish is intended for food-contact use and what the maker recommends for upkeep. Food-safe mineral oil is a common maintenance choice for wooden boards; avoid using olive or vegetable oil, which can go rancid. Do not assume that a glossy coating is suitable for knife work simply because it looks polished.
The best finish for your kitchen is one you can maintain without special steps or uncertainty. If the care instructions are unclear, ask before buying rather than trying to identify the coating after the board arrives.
Plan for hand-washing, thorough drying, and occasional oiling
Wash a wooden board by hand with mild soap and warm water, dry it upright, and never soak it or put it in the dishwasher. When the wood looks dry, apply food-grade mineral oil or an appropriate board conditioner about once a month. Your schedule may vary with how often the board is used and the conditions in your kitchen.
These habits are straightforward, but they are part of owning a wooden board. Choose one that fits your available space and willingness to care for it, then keep the routine consistent. A few minutes after prep is easier than dealing with a board that has been stored damp.
Choosing a cutting board for a farmhouse kitchen
The right farmhouse kitchen board pairs naturally with the room while doing the unglamorous work of daily prep. Choose a suitable wood and construction, measure for your counter and storage, and favor features you will use. If you can lift it comfortably, clean it properly, and give it room to dry, it is a good fit for the kitchen rather than just another prop on the counter.
Best for
- Maple: a pale, understated look that pairs easily with many counters.
- Walnut: deep brown tones that contrast with light cabinetry.
- Cherry: warm, reddish-brown tones, if you like natural variation in color and grain.
- Grooves, handles, or a reversible surface: cooks who will use them in their daily routine.
Frequently Asked Questions
What wood color works best in a farmhouse kitchen?
Choose a tone that complements your cabinets and counters. Pale maple keeps a light palette, walnut adds contrast, and cherry brings warmer color; natural variation means each board will look a little different.
Is maple a good wood for a cutting board?
Maple is a commonly used hardwood for cutting boards and has a light, understated appearance. Check the board’s construction and finish as well as its species.
What is the difference between edge-grain and end-grain boards?
Edge-grain construction shows long, parallel strips of wood, while end-grain construction shows the ends of the wood fibers, often in blocks. Both can be practical, so compare appearance, build, and upkeep.
How big should a kitchen cutting board be?
Choose a size that leaves room for your knife and a bowl while keeping enough clear counter space to work. Measure the counter and sink area, and consider where the board will be stored.
Do I need a juice groove?
A groove can help contain liquid from juicy foods or carving, but it reduces some flat chopping area and needs cleaning. Choose one if that trade-off suits the way you cook.
Can you put a wooden cutting board in the dishwasher?
No. Hand-wash it with mild soap and warm water, dry it upright, and do not soak it; dishwasher heat and prolonged moisture are not appropriate care for a wooden board.
How often should you oil a wooden cutting board?
About once a month is a useful starting point, with food-grade mineral oil or a suitable board conditioner. Wash and dry the board first, and avoid olive or vegetable oil.
What should you do next?
- Measure your counter and storage space, and think about how much weight you can lift comfortably.
- Choose a wood tone that suits the room, then confirm the finish is intended for food contact.
- Pick only the features you will use, such as a groove or handles.
- Plan for hand washing, full drying, and occasional oiling.
- Work through the cutting board checklist for new homeowners and these questions to ask a cutting board maker.