BUYING GUIDES
Cutting board checklist for new homeowners: What to buy, check, and maintain
Use this cutting board checklist for new homeowners to choose, inspect, clean, and care for a board.
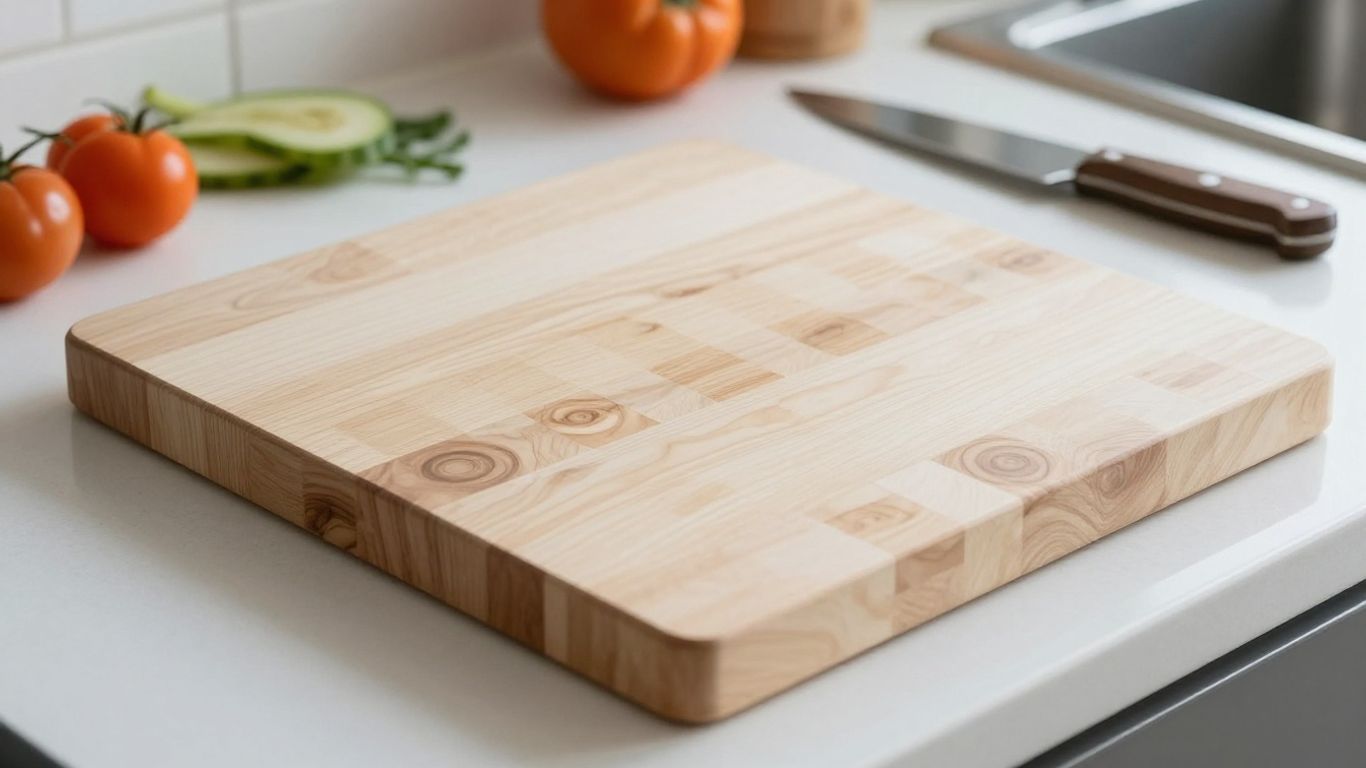
The short answer
A useful cutting board is one that fits your kitchen, your cooking habits, and the care you’re willing to give it. Start with a practical main board, then add a separate surface for raw meat if you need one.
- Measure counter and cabinet space before choosing a size.
- Keep raw meat separate from foods you’ll eat without further cooking.
- Check the board’s material, finish, stability, weight, and storage needs.
- Follow the care instructions, wash by hand when required, and dry fully.
- Replace a board when damage makes it hard to clean safely.
1. What does your kitchen need?
Start with how you cook, not with a board that looks impressive in a photo. For most new kitchens, one roomy board for everyday chopping and a separate surface for raw meat is a sensible beginning. The trade-off is simple: larger boards give you more working space but take up more counter and storage room.
Match board size to your counter space and cooking habits
Measure a clear patch of counter and the cabinet or shelf where the board will live. A board around 12 by 9 inches can suit light prep or a small kitchen, while a larger work surface is handy if you regularly chop several ingredients at once. Use those dimensions as a starting point, then check that you can still move comfortably around the board. For more sizing considerations, see this cutting board size guide.
Choose a main board and a separate surface for raw meat
A main board handles produce, bread, and other everyday prep; a second board can be reserved for raw meat, poultry, or seafood. USDA consumer guidance recommends keeping these foods separate from ready-to-eat foods to reduce cross-contamination. If you cook meat often, choose a second board that is easy to identify and wash promptly, rather than relying on memory when dinner is underway.
Set a realistic budget for everyday use
Choose a board you can afford and maintain, rather than treating the first kitchen purchase as a forever decision. Before you compare materials or construction, it helps to list the basics you need and what can wait; a broader new-home kitchen essentials list can help put the board in context. A sensible first setup might include:
- One main board sized for your counter.
- A separate board or clearly designated surface for raw meat.
- Mild dish soap and a clean towel for hand washing and drying.
- Food-grade mineral oil if your board’s care instructions call for it.
That small list covers the daily job without filling a new kitchen with gear you may rarely use. You can add a specialty board later if your cooking habits give you a reason.
2. What should you check before you buy?
Look for a board made from a food-safe material, with a finish and care instructions you can understand. Then check the actual construction and handling details, since a useful board needs to sit steadily and fit your routine. A little inspection in the shop can prevent a frustrating mismatch at home.
Look for a food-safe material and finish
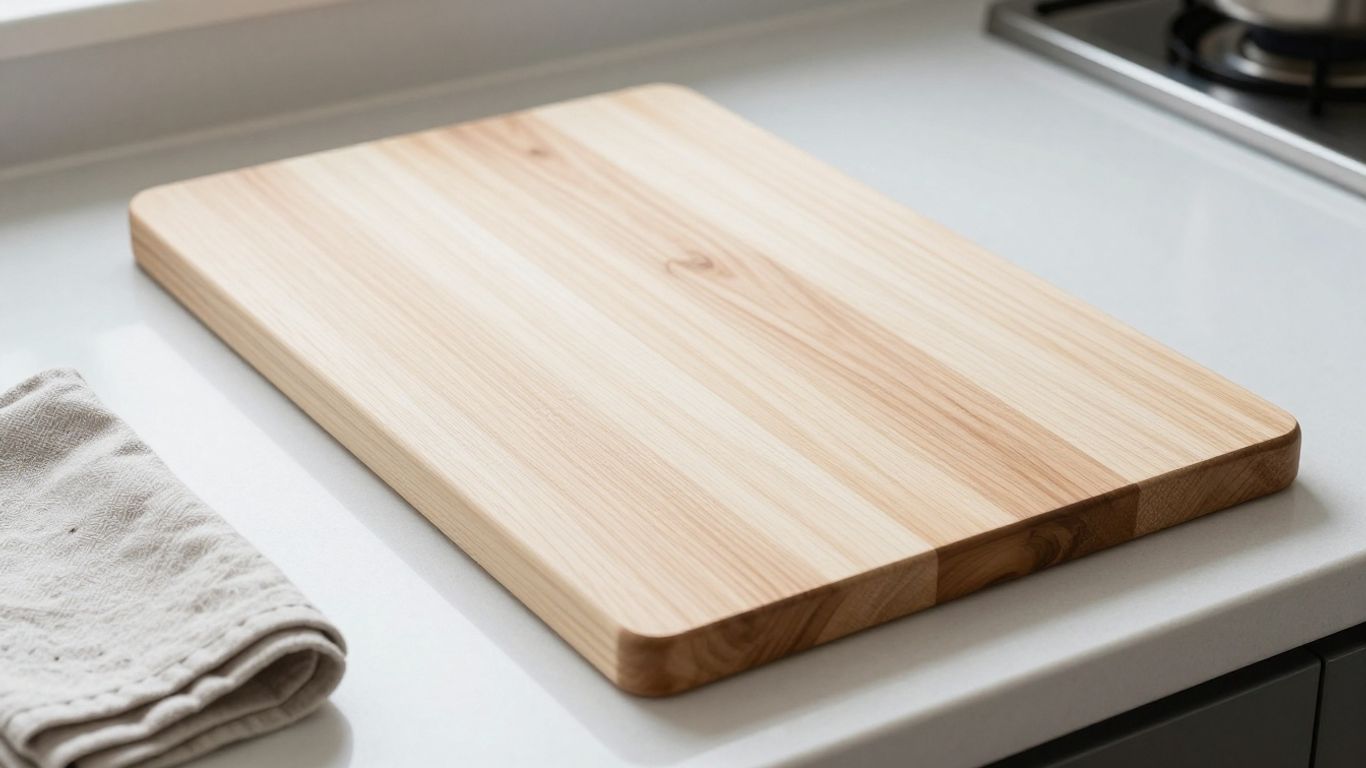
Read the product description for the material and finish, and look for clear care directions rather than vague promises. If you’re considering wood, the wood finish guide explains what food-safe finishes mean and what information to look for. The Bevel & Bond End-Grain Maple Cutting Board is made from North American hard maple and measures 17 by 13 by 1.75 inches. Match any board’s stated material and finish to its instructions, not assumptions about how it should be cared for.
Check for a flat, stable surface with no cracks or loose parts
Set the board on a level surface and check that it sits flat without rocking. Look closely at the face and edges for cracks, gaps, or loose joints, and inspect any attached parts. On a wooden board, tight, even construction is a more useful sign than decorative details; small differences in grain are normal, but open seams deserve a closer look.
Consider weight, storage space, and easy handling
A substantial board may feel steady during prep, but weight matters when you lift it to wash or put it away. The Bevel & Bond End-Grain Maple Cutting Board weighs about 10 pounds, so consider whether that is comfortable for your kitchen and routine. Check the board’s footprint against your shelf or cabinet, too. A board that fits the counter but has no sensible storage spot can become an awkward daily object.
3. Which features make prep easier?
Useful features solve a specific problem; they don’t automatically make a board better for every cook. Think through what you chop, where liquid tends to go, and how you move the board around. The right choice is usually the one you’ll appreciate during ordinary weeknight prep.
| Feature | When it helps | Trade-off |
|---|---|---|
| Juice groove | Carving or slicing juicy foods | Takes up some flat surface and needs cleaning |
| Flat surface, no groove | Chopping vegetables you move straight to a pan | Liquid can run onto the counter |
| Handles or finger grips | Lifting and moving the board | Weight and size still need to suit you |
| Nonslip feet | Keeping the board steady during prep | Weight and storage space still need to work |
| Thicker board | A substantial, steady work surface | Heavier to lift and takes more vertical storage space |
Decide whether a juice groove will help with messy ingredients
A groove around the edge can catch some liquid from juicy foods, which may help when carving or slicing ripe ingredients. It also takes up a little of the board’s usable surface and needs cleaning. If you mostly chop vegetables and transfer them straight into a pan, a flat surface may be simpler; if liquid often runs across your counter, a groove can be handy.
Check if handles or nonslip feet suit your kitchen
Handles and grip features are worth considering in relation to how you lift and use the board. Bevel & Bond End-Grain Maple Cutting Board includes finger grips and non-slip feet, as well as a juice groove. Those features may suit a cook who wants help moving or steadying the board, but the board’s weight and dimensions still need to work for your counter and storage space. This site is published by the team behind Bevel & Bond.
Pick a shape and thickness that fit your counter and cabinets
Rectangular boards are straightforward to position and store, while a thicker board will generally take up more vertical space and be heavier to lift. Measure both the working area and the route to storage, including the cabinet opening. A board that clears the counter but won’t slide into its intended spot is not a useful fit, however appealing it looked in the store.
4. How do you get a new board ready for its first use?
Before you start chopping, follow the care instructions that came with the board. Wash and dry it as directed, then condition it only if the material and maker call for that step. A suitable storage spot matters from the beginning, especially for wood.
Wash and dry it according to the care instructions
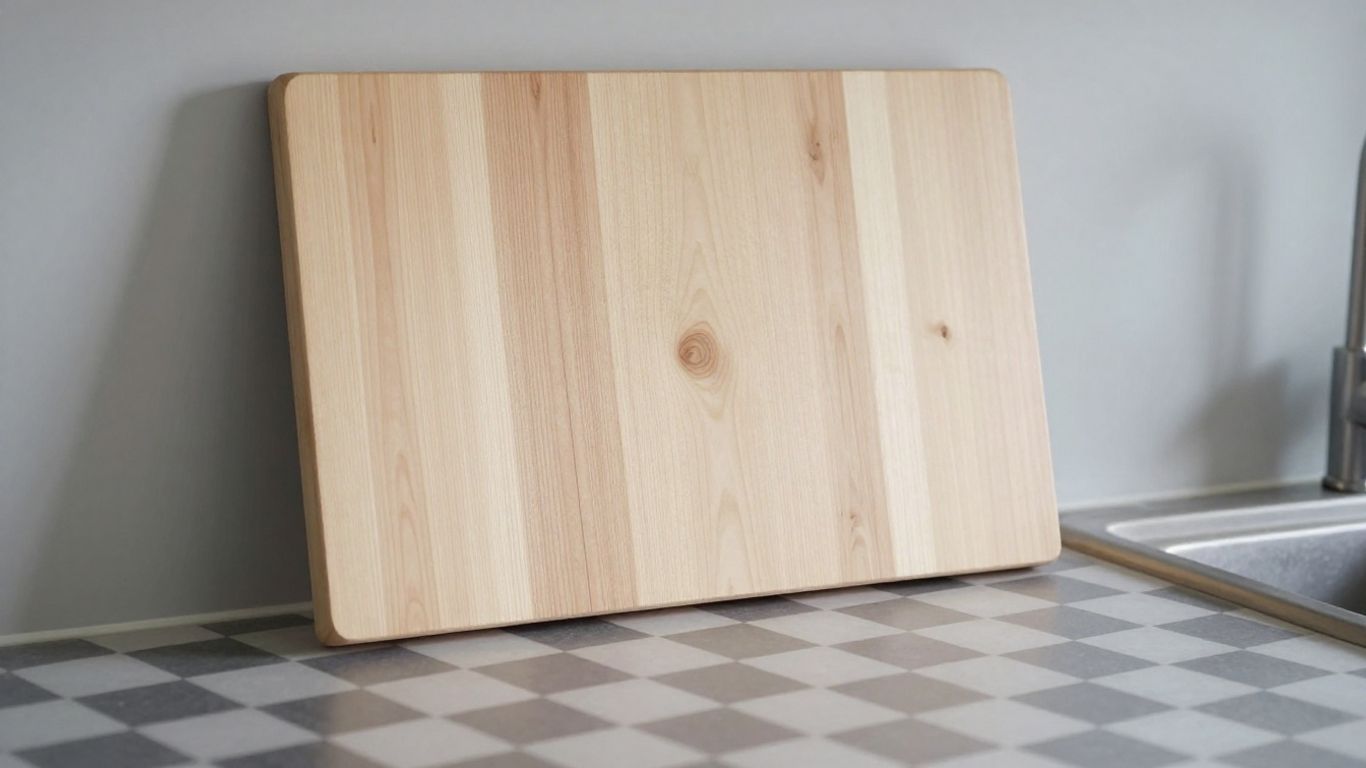
For a wooden board, hand wash with mild soap and warm water, then dry it promptly. Do not soak it or put it in the dishwasher unless its specific care directions expressly allow that; wood boards commonly call for hand washing. If you want a step-by-step overview, read this guide to seasoning a new maple board. When in doubt, follow the instructions for the board you bought.
Apply a food-safe conditioner if the material calls for it
Some wooden boards benefit from food-grade mineral oil or a conditioner intended for cutting boards. Apply only the product and amount recommended in the care directions; ordinary cooking oils such as olive or vegetable oil are not substitutes. A dry-looking surface can be a cue to review the maker’s conditioning schedule, rather than applying more product by guesswork.
Choose a storage spot away from standing water and excess heat
Store the board where it can dry fully and won’t sit in pooled water or beside a strong heat source. For a wood board, upright storage can help both sides dry after washing, provided it is stable and has room for air to circulate. The goal is an easy-to-reach place that doesn’t trap moisture.
5. What cleaning and care habits should you build?
A short, repeatable routine is easier to maintain than an occasional deep clean after a board has been neglected. Wash promptly after food prep, dry completely, and use any conditioning product according to the board’s instructions. These habits keep ordinary mess from becoming a storage or odor problem.
Wash the board promptly after food prep
After chopping, scrape away scraps and hand wash the surface with mild soap and warm water when that is the recommended method. Pay attention to grooves and edges, where food residue can collect. For raw meat, keep the board separate from ready-to-eat foods and clean it promptly; the maple cutting board cleaning guide covers practical cleaning steps.
A quick wash is not a reason to soak a wooden board or leave it in a sink. Those habits can expose it to prolonged moisture, so clean it, rinse it, and move on to drying.
Dry it fully before storing it
Use a clean towel to remove surface water, then let the board finish drying in a position that allows air to reach both sides. Avoid putting it away while damp or leaving it flat on a wet counter. For more on routine wooden-board care, see this maintenance schedule for maple boards.
Recondition wood when it looks dry or rough
If a wooden board looks dry, follow its care directions for food-grade mineral oil or a suitable board conditioner. Bevel & Bond Board Balm is a mineral oil and beeswax conditioner; apply it only as directed for the board you own. Conditioning needs vary, so use the surface’s condition and the maker’s guidance instead of treating a calendar date as a rule.
6. When should you inspect or replace a board?
Inspect a board as part of normal cleaning, especially if it has seen heavy use. Knife marks alone do not necessarily mean a board is unsafe, but deep grooves, cracks, warping, or loose joints can make cleaning difficult. Keep raw-meat prep separate from ready-to-eat food throughout the board’s life.
Check for deep grooves, cracks, warping, or loose joints
Look over the surface and edges in good light. Pay attention to damage that creates places you cannot clean well, persistent odors, mold, or a board that no longer sits flat. Cosmetic marks are different from structural damage, so consider the depth and location before deciding what to do. This guide to assessing maple board wear offers more detail.
Keep boards for raw meat separate from ready-to-eat foods
Use separate boards for raw meat and foods that will be eaten without further cooking, and wash each promptly after use. If you have only one board, clean it thoroughly between tasks and avoid placing ready-to-eat food back on a surface that held raw meat. A separate board makes the routine easier to follow when you’re cooking quickly.
Replace a board when damage makes it difficult to clean safely
Replace the board if deep cuts, cracks, loose joints, or persistent contamination make thorough cleaning impractical. A few shallow knife marks are not automatically a reason to throw it out, but a surface that traps food or cannot be cleaned properly has reached the end of its useful service. Let the condition of the board, not its age alone, guide the decision.
Your new-home board checklist in short
For a new home, a good cutting board checklist starts with fit and function: measure your space, choose a practical main board, and keep raw-meat prep separate. Check construction and care instructions before buying, then wash, dry, store, and inspect the board consistently. That’s enough to make the board a useful part of your kitchen rather than another thing to work around.
Best for
- One main board: everyday chopping of produce, bread, and other prep.
- A separate raw-meat board: cooks who prepare raw meat, poultry, or seafood often.
- A board around 12 by 9 inches: light prep or a small kitchen.
- A larger board: cooks who chop several ingredients at once and have the counter space.
- A board with a juice groove: cooks who often carve or slice juicy foods.
Frequently Asked Questions
What size cutting board should a new homeowner buy?
Choose a size that gives you room to prep while still fitting your counter and storage space. Measure both before buying, and consider how much you typically chop at once.
Do I need a separate cutting board for raw meat?
Using a separate board for raw meat, poultry, or seafood helps keep those foods apart from ready-to-eat foods. Wash each board promptly after use.
How can I tell if a cutting board is food-safe?
Check that the maker identifies the material and finish and provides clear care instructions. Avoid relying on vague claims when the actual materials are not specified.
Should I buy a cutting board with a juice groove?
A groove can help contain liquid from juicy foods, but it reduces some usable surface and needs cleaning. Choose one if that trade-off suits the foods you prepare.
How should I clean a wooden cutting board?
Follow its care instructions. Many wooden boards call for hand washing with mild soap and warm water, prompt drying, and no soaking or dishwasher use.
How often should I condition a wooden board?
Follow the maker’s care schedule and check the board’s surface for signs that it looks dry. Use food-grade mineral oil or a board conditioner only if the instructions recommend it.
When should I replace a cutting board?
Replace it when deep grooves, cracks, warping, loose joints, or persistent contamination make it difficult to clean safely. Minor surface marks alone may not require replacement.
What should you do next?
- Measure your counter and the cabinet or shelf where the board will live.
- Pick one main board, and add a separate board for raw meat if you cook it often.
- Check the material, finish, flatness, and weight before you buy.
- Wash the board promptly after use, dry it fully, and recondition wood when it looks dry.
- Before you buy, read these questions to ask a cutting board maker and compare rubber vs wood cutting boards.