BUYING GUIDES
How long it takes to make an end grain cutting board: A realistic timeline
See how long it takes to make an end grain cutting board, including hands-on hours and drying time.
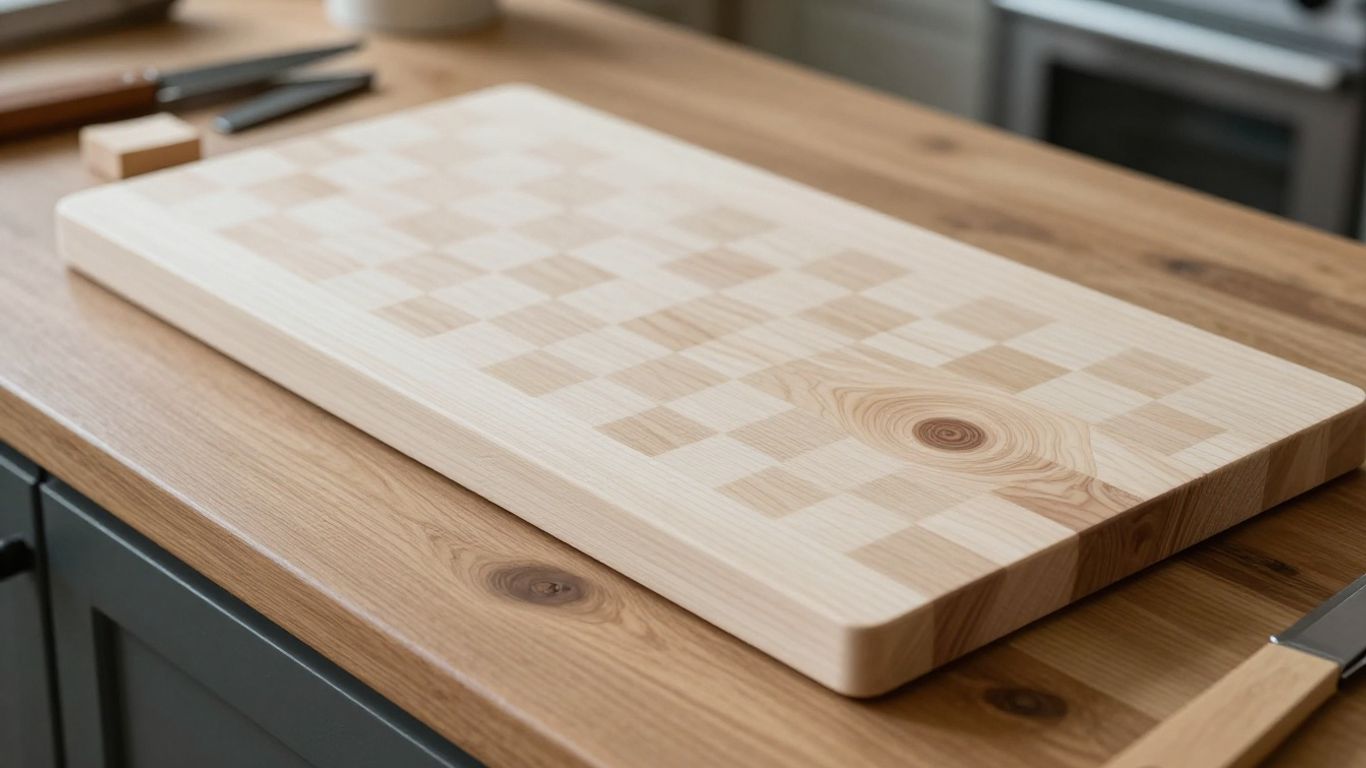
The short answer
An end-grain cutting board is a multi-session project, not usually a one-day build. Your hands-on hours may fit into a weekend, but glue, wood, and finish need time between steps.
- Plan on roughly 8–15 hours of hands-on work for a simple small or medium board, with considerable variation.
- Allow several calendar days for glue-ups, acclimation, and finish drying or curing.
- Dry, flat lumber and well-prepared tools make the schedule easier to predict.
- A first board often takes longer because layout, clamping, and flattening require care.
- Follow the adhesive and finish manufacturers’ directions rather than rushing the waiting periods.
How does total time compare with hands-on time?
How long it takes to make an end grain cutting board depends on your lumber, tools, and pattern, but a straightforward build commonly takes about 8–15 hours of active work spread across 3–7 calendar days. A more complex design or rough lumber can push the project longer. The main distinction is simple: you can plan the work sessions, but you cannot safely schedule away the time materials need to set and dry.
Typical timeline for a small or medium board
For a basic board made from already-dry, surfaced hardwood, set aside a few work sessions and several days on the calendar. If you begin with rough lumber, add time for milling and checking the stock; an intricate pattern adds more layout and cutting. These are planning estimates, not a promise that every shop will finish on the same day.
For a sense of scale, the Bevel & Bond End-Grain Maple Cutting Board measures 17 × 13 × 1.75 inches. That is a documented product size, useful as a reference for thinking about material and shop capacity, not an estimate of how long its construction takes.
How much time is spent working versus waiting
Most of your direct effort goes into preparing stock, making accurate cuts, handling two glue-ups, flattening, sanding, and finishing. Waiting periods occupy more calendar time than hands-on time, especially when you build around the adhesive’s stated clamp and cure directions. This rough stage breakdown can help you reserve shop time without confusing active work with elapsed days.
| Stage | Hands-on estimate | Calendar consideration |
|---|---|---|
| Stock selection and preparation | 1–3 hours | More if lumber needs milling or acclimation |
| First glue-up and cleanup | 1–2 hours | Follow the adhesive’s clamp and cure directions |
| Cutting blocks and second glue-up | 2–4 hours | Allow another adhesive setting period |
| Flattening, sanding, and finish | 3–6 hours | Finish drying or curing adds time |
Treat the ranges as a rough budget. Your adhesive label and the condition of the wood determine the actual pauses, while the pattern and available machines affect the active hours.
Why a weekend project can take several days
A weekend gives you useful blocks of shop time, but the build has natural stopping points. You may glue a panel Saturday, wait according to the adhesive directions, then cut and re-glue it later; finishing creates another pause before the board is ready for use. A step-by-step build guide can help you see how the sequence fits together before you start. The waiting is not wasted time, even if it does make the project feel like it has a part-time job.
How much time does each stage take?
Each stage has a different kind of uncertainty: milling depends on the lumber, glue-ups depend on accurate preparation, and flattening depends on your tools and the board’s condition. The schedule below assumes you are working carefully and checking each stage rather than trying to win a race. If you are new to the process, build in extra time at the transitions.
Selecting and preparing dry hardwood
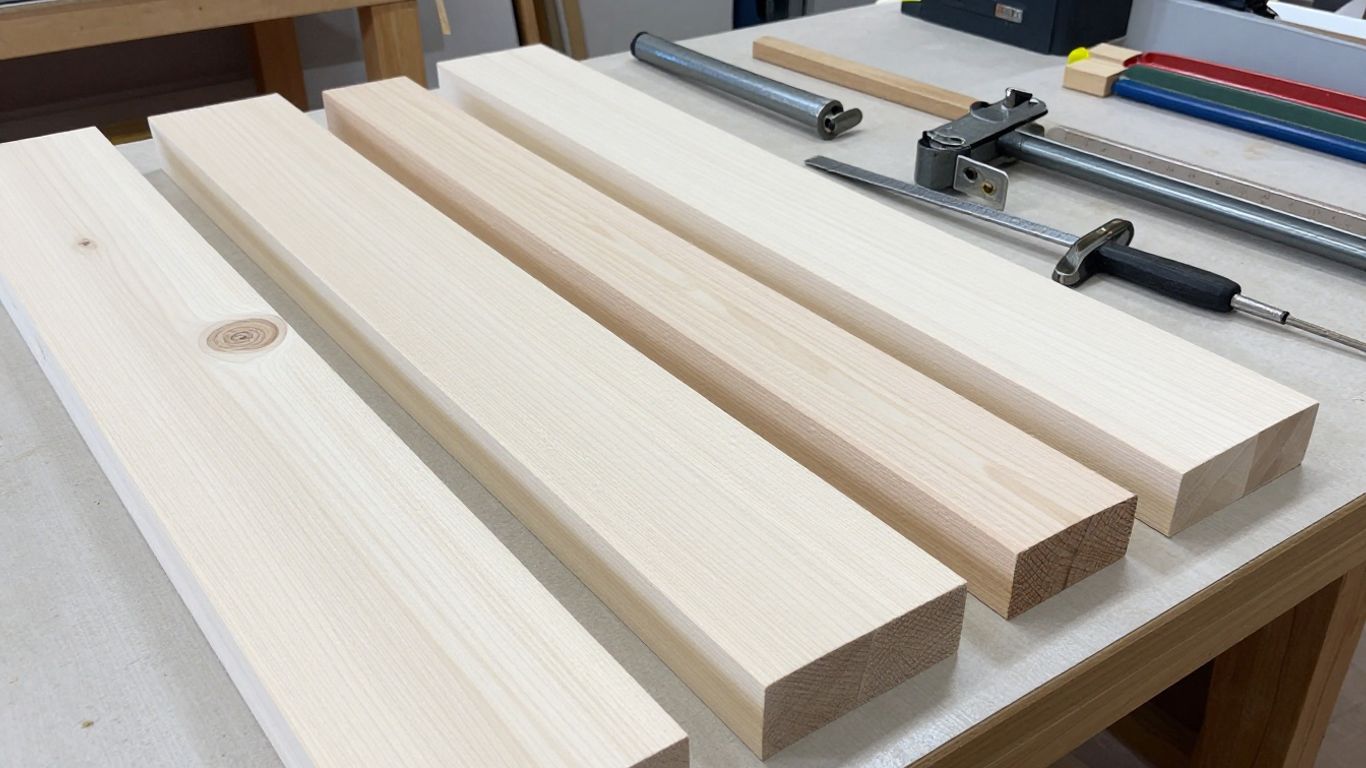
Choosing stock may take less than an hour if you have dry, surfaced boards in suitable lengths. Rough lumber takes longer because it must be milled square and flat before glue-up, and you should inspect it for defects and changing moisture conditions. A useful end-grain construction guide for maple boards explains the basic build and material considerations. The cleanest schedule starts with stock that is ready to cut, not stock that still needs several rounds of preparation.
Gluing, clamping, and letting the panels set
The first glue-up joins the prepared strips into a panel; the later glue-up joins the cut blocks with their end grain facing up. Applying glue and arranging clamps can take an hour or two per session, but the adhesive’s instructions control how long the assembly stays clamped and when it can be worked again. Make a dry run with the clamps before spreading glue, because a hurried search for one more clamp is a poor use of open time.
Cutting and re-gluing the end-grain blocks
Once the first panel is ready to machine, you cut it into strips or blocks and arrange them for the final pattern. Measure and test the layout before applying adhesive, since a small alignment mistake can become a visible one across the finished surface. Pattern changes, uneven cuts, and extra cleanup can all add time, so a plain checkerboard is usually quicker to organize than a more elaborate design.
Flattening, sanding, and applying a food-safe finish
Flattening is often the stage that surprises first-time builders. End-grain blocks can shift slightly during the second glue-up, and removing high spots evenly takes patience and suitable equipment. Sanding and applying a finish also require time between operations; follow the finish label for drying or curing and use a product intended for cutting-board contact. Board Balm is a mineral oil and beeswax conditioner, available as a cutting board conditioner; it is not a reason to skip the instructions for a finish used during construction.
What changes the timeline most?
The schedule changes most when the build asks for more precision or more preparation than you planned. A larger board needs more material and often more machine capacity, while rough or unsettled lumber may require pauses before you can proceed. Your best estimate comes from assessing the project you actually have, not borrowing the timing from someone else’s shop video.
Board size, thickness, and pattern complexity
A larger or thicker board means more stock to prepare, more glue surface, and more material to flatten and sand. Pattern complexity adds measurement and layout work, and small repeated pieces leave more opportunities for a cut to need correction. If you are still deciding on proportions, a hard maple cutting board at 17 × 13 × 1.75 inches is one real-world size reference; it does not imply that every build at that size takes the same number of hours.
Wood species, moisture content, and lumber preparation
Dry, well-prepared stock is easier to schedule than lumber that needs additional milling or time to adjust to the shop. Different species may also machine differently, so allow for your own tools and experience rather than assuming identical cutting speeds. If the boards feel damp, move, or reveal defects during preparation, stop and reassess instead of locking the problem into a glue-up.
Tool setup, shop experience, and available equipment
A jointer, planer, table saw, sanding setup, and safe workholding can shorten some operations, but only when they are set up correctly. Without the right equipment, you may need another method or more careful hand work; either can be appropriate, though the time budget changes. Before starting, review a guide to how cutting boards are made and compare its sequence with the tools you can use safely.
How does a first-time builder’s schedule differ?
If this is your first end-grain board, give yourself more time than a confident builder would need. Your first attempt includes learning the sequence, arranging clamps, checking cuts, and figuring out how your tools behave with the actual stock. The slower pace is useful: it gives you time to catch errors while they are still small.
Extra time for planning cuts and setting up tools
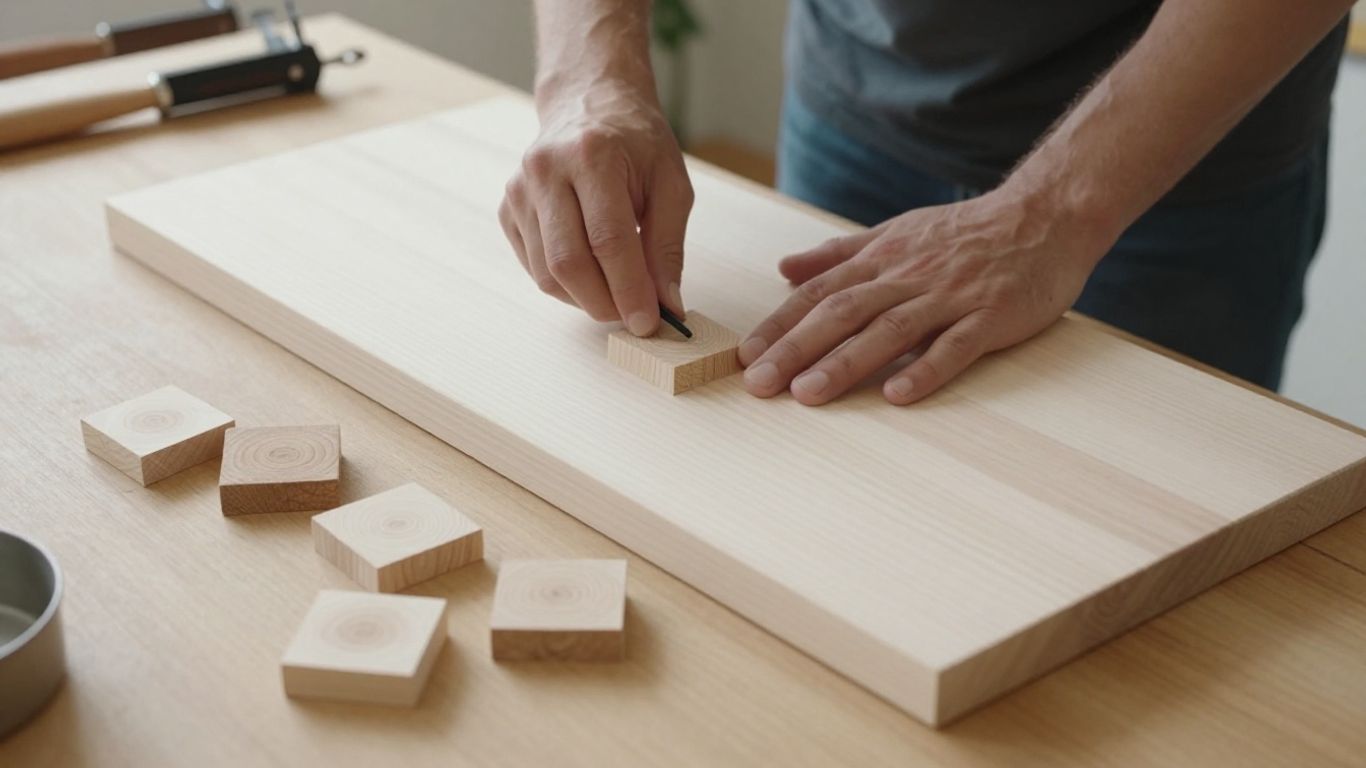
A first-time builder may spend as long planning the cut sequence as making some of the cuts. Mark the pieces, check the intended dimensions, and confirm the fence or stop setup before committing the stock. Keep a small margin for trimming and flattening, and do not treat a cut list as a substitute for verifying each piece as you work.
Common slowdowns during glue-ups and flattening
Glue-ups can slow down when clamps are not ready, the pieces slide, or excess glue becomes difficult to reach. Flattening takes longer when you try to remove material too quickly or discover that the board is not supported evenly. If you have not made an end-grain board before, a basic-tools end-grain tutorial can offer another view of the process and its practical constraints.
When to pause and check for fit or defects
Pause before each glue-up to check that the pieces fit, the arrangement matches your plan, and the clamps reach the work without awkward improvisation. Stop if you see a gap, split, tear-out, or a piece that no longer sits flat. Fixing a small problem before glue sets is usually less time-consuming than trying to disguise it after the next operation.
Why do drying and curing add calendar time?
Drying and curing are built into the schedule, not optional administrative overhead. Wood can respond to changes in shop conditions, adhesives need the time specified by their makers, and finishes need to dry or cure as directed. You can use pauses to clean up and prepare the next step, but do not treat that as permission to move the board forward early.
Following the adhesive manufacturer’s clamp and cure times
Adhesives differ, so use the product label or manufacturer instructions for clamp time, handling, and full cure. Clamp time is not necessarily the same as the time before the assembly is ready for every later operation. Plan around the specific adhesive in your shop instead of borrowing a number from an unrelated project.
Letting the wood acclimate between major steps
Give the wood time to settle when shop conditions or the lumber’s condition call for it. There is no universal pause that fits every species, board, or workspace, so inspect the stock and use sound woodworking judgment. If a panel changes shape or reveals a new defect, waiting and reassessing is better than forcing the next glue-up.
Waiting for the finish to dry before use
A board is not ready just because its surface looks dry. Follow the finish manufacturer’s drying and curing instructions, and wait the full recommended period before using the board with food. The finish stage is where a rushed schedule can undo careful work, so leave it a proper place on the calendar.
How do you plan a realistic build schedule?
Plan the project as a series of work sessions separated by required pauses. Decide what must be accurate before glue is opened, and reserve time for cleanup and corrections. A workable schedule includes slack, because wood and shop setups rarely care about your weekend plans.
Grouping noisy or dusty steps into work sessions
Group milling and cutting into one session when the stock and machine setup allow it, then do sanding in a separate session with appropriate dust control. Keep glue-up time focused, with clamps and cauls ready before you begin. A short written sequence helps you avoid repeated setup and keeps dusty work from spreading across every evening of the week.
For a simple build, a practical session plan might look like this:
- Prepare and label the dry lumber, then check the cut plan.
- Make the first panel and allow the adhesive’s specified setting time.
- Cut and arrange the blocks, then complete the second glue-up.
- Flatten, sand, and apply the finish according to its instructions.
This is a sequence, not a rigid calendar. You can shift the sessions to suit your shop, but preserve the required waiting periods between them.
Allowing buffer time for rework and changing conditions
Leave a spare session for fixing a poor fit, adjusting a pattern, or getting a flatter surface than the first pass produced. If everything goes smoothly, the buffer becomes free time; if it does not, you will be glad it was there. That is a much calmer approach than scheduling the finish for the night before a gift is due.
Knowing which shortcuts can compromise the board
Do not shorten adhesive or finish directions, skip checks before glue-up, or try to remove too much material in a single flattening pass. Those shortcuts can create more work or reduce confidence in the finished board. Saving time on layout rarely saves time overall if you have to cut, re-glue, or sand away a preventable mistake.
What does the build timeline mean for buyers?
A simple end-grain board may take around 8–15 hours of hands-on work, but several calendar days is a more realistic expectation once glue setting, acclimation, and finish curing are included. Start with dry, prepared wood, follow the makers’ instructions, and leave yourself room to correct small problems before they become part of the board.
Frequently Asked Questions
Can you make an end-grain cutting board in one day?
You may complete several active steps in one day, but a full build usually includes pauses for adhesive setting and finish drying or curing. A single-day schedule is not a safe assumption for the whole process.
How many hours of hands-on work should you plan for?
For a straightforward small or medium board, roughly 8–15 hours is a useful planning range. Rough lumber, a complex pattern, limited equipment, or first-time setup can increase that estimate.
How long should the board stay clamped?
Use the clamp time specified by the adhesive manufacturer. Adhesive products vary, and the clamp period may differ from the time needed before later machining or full cure.
Does rough lumber add much time?
It can. Rough stock may need to be cut to length, flattened, and milled square before glue-up, while ready-to-use surfaced boards let you move more directly to layout and assembly.
What part of the build usually takes the longest?
The answer depends on the shop, but flattening and sanding can consume substantial time, especially when the board is uneven after the second glue-up. Complex layouts also add cutting and alignment work.
How long should you wait before using the finished board?
Follow the finish manufacturer’s stated drying and curing instructions before food contact. A dry-looking surface alone does not establish that the product is ready for use.
Can a beginner make an end-grain cutting board?
Yes, with careful planning, suitable tools, and patience at each glue-up. A simpler pattern and an extra buffer session make the first project easier to manage.
What should you do next?
- Block out several calendar days, not one, and plan your hands-on sessions around the waiting periods.
- Start with dry, flat lumber and tools that are ready to go.
- Read the adhesive and finish directions before you begin, and follow their clamp, cure, and drying times.
- Leave extra time for a first board, since layout, clamping, and flattening take care.
- Choose your stock with hardwood lumber grades for cutting boards and learn how American hardwood is kiln-dried.