BUYING GUIDES
How to carve a spiral ham: a simple step-by-step guide
How to carve a spiral ham: follow the bone and spiral seams for neat slices, then store leftovers safely.
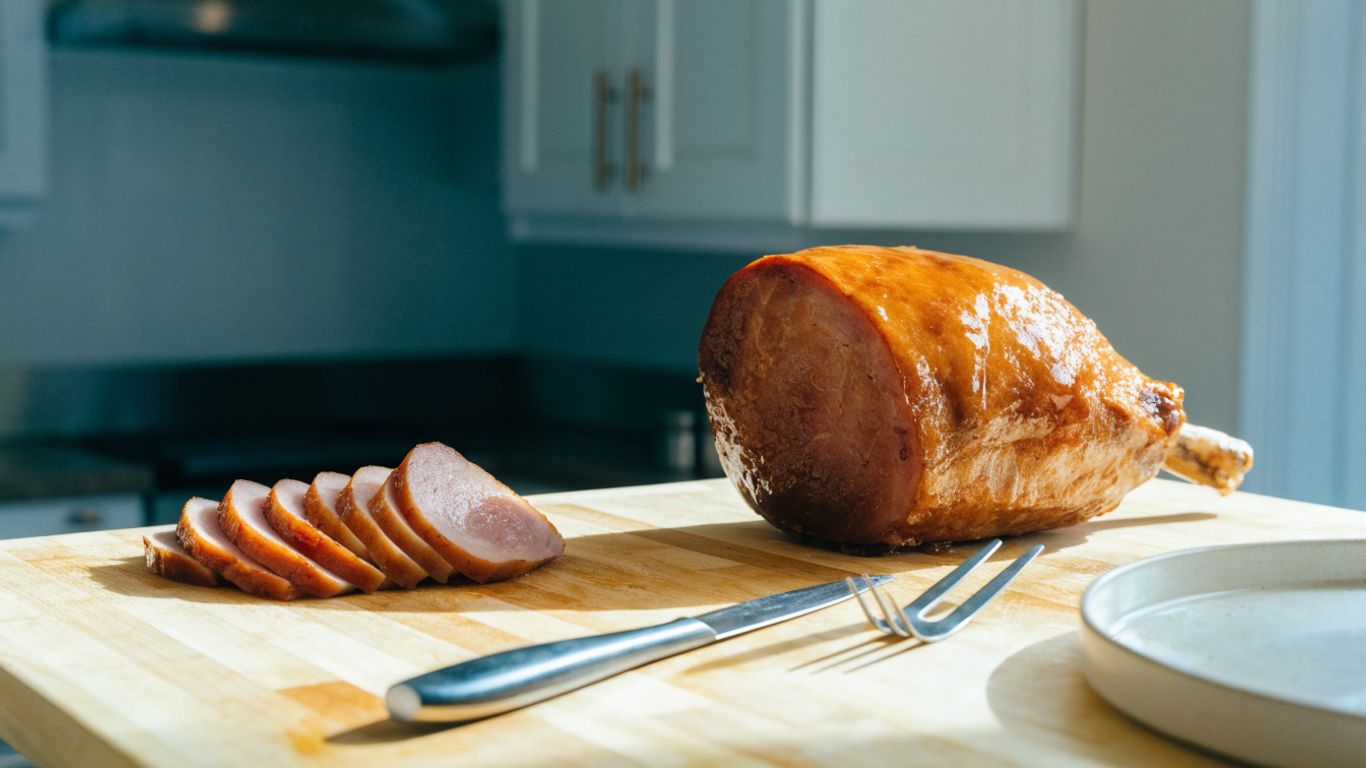
The short answer
To carve a spiral ham, steady it on a board, find the center bone, and release slices along the ham’s existing spiral cuts. A sharp knife and a few careful cuts make it easier to keep the slices intact.
- Let a hot ham rest briefly, then remove packaging and picks.
- Set the ham on a stable cutting board with the bone easy to reach.
- Cut close to the bone and follow the spiral seams rather than sawing across slices.
- Turn the ham as needed, then trim the meat that remains around the bone.
- Serve the slices promptly and refrigerate leftovers within two hours.
How do you check the ham and set up your carving station?
Start with a stable board, a sharp knife, and a ham that has rested after heating. Clear enough counter space to turn the ham without reaching over hot pans or other food. A little preparation now helps you carve without crushing the spiral slices.
Let the ham rest before carving
If you have just heated the ham, let it rest for about 10 to 15 minutes before carving. This gives the surface a chance to settle and makes the ham easier to handle. Follow the package directions for heating and resting, since spiral hams vary. If you are serving it cool, move straight to the setup.
Remove packaging, netting, and any decorative picks
Take off all packaging before the ham reaches the board, including any plastic or netting. Check the outside carefully for decorative picks or other small pieces, and remove them before you start cutting. If there is a glaze packet, set it aside for serving or use it as directed on the package.
Gather a sharp knife, carving fork, and sturdy cutting board
A long, sharp carving knife makes it easier to cut close to the bone without tearing the slices. Use a carving fork to steady the ham, keeping your supporting hand clear of the blade. Choose a board with enough room for the ham and a platter nearby; a carving maple board for meat can offer useful guidance on size, stability, and juice management.
Position the ham so it feels stable
Set the ham on its broad, flat side, if it has one, and test that it does not rock before cutting. Keep the board on a dry, level surface, and turn the ham so you can reach the bone comfortably. If it shifts when you press gently with the fork, reposition it before making a cut. Stability matters more than getting the ham into a picture-perfect pose.
Where is the bone, and where should you start?
For a bone-in spiral ham, locate the central bone first, then use the existing cuts to guide your knife. There is no need to slice across the face of the ham as you would with an unsliced roast. Choose a side you can reach easily while keeping the ham steady.
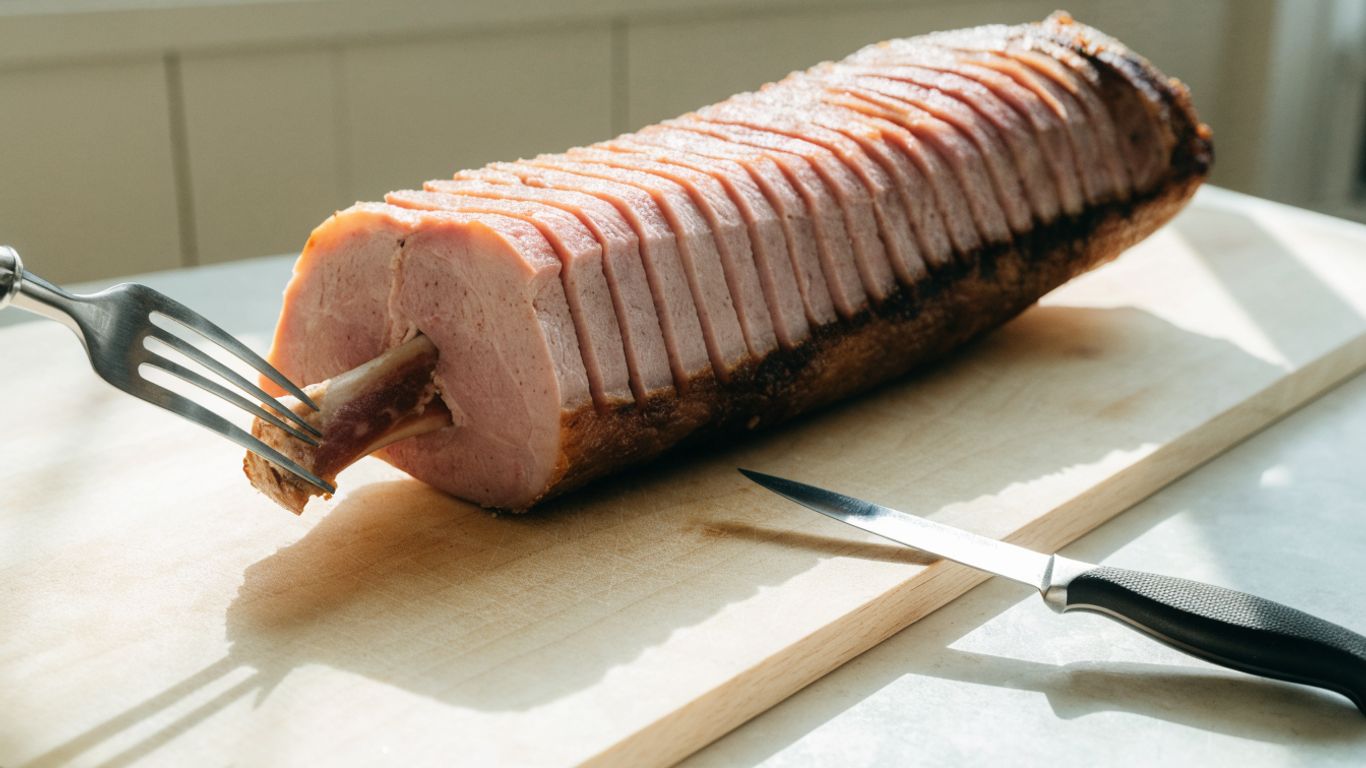
Locate the center bone in a bone-in spiral ham
The bone runs through the center of the ham and may be partly visible at one end. Use your fingertips or the blunt side of the knife to feel where the meat meets the bone, without pushing your hand into the cutting path. Once you have found it, you can make a shallow cut beside it to see where the meat releases.
Look for the natural cuts between the slices
Spiral hams are already cut into connected slices, so look for the fine seams that curve around the meat. These cuts provide the easiest route for releasing sections. If a slice starts to tear, pause and find the seam again rather than forcing the knife through the meat. A clean release comes from following the cut, not from sawing harder.
Decide which side gives you the easiest access
Start on the side where the bone is easiest to reach and the ham rests most securely. A section that loosens cleanly gives you a feel for how this particular ham is cut. Use the same method on the other side, adjusting the angle as needed. For a broader look at the steps, see this guide to carving spiral ham.
How do you separate the slices from the first side?
Work in sections, cutting close to the bone to release a connected group of slices. The spiral cuts do most of the work, so use the knife to free the meat rather than to create new slices. Keep the fork steady and move each section to the platter only after it is loose.
Make a cut close to the bone to release a section
Insert the knife between the meat and bone, then make a controlled cut along the bone to loosen a section. Keep the blade angled toward the bone so you leave as much meat as possible on the slices. The cut need not be deep all at once; short, careful strokes are easier to control than one forceful push.
Follow the spiral cuts instead of sawing across them
Once the section is loosened, use the existing seams as your guide. The table below shows how to respond to what you feel as the knife moves through the ham.
| What you notice | What to do | Why it helps |
|---|---|---|
| The knife meets a clear seam | Follow the seam with light strokes | Keeps slices connected and neat |
| The meat resists along the bone | Shift the blade closer to the bone | Frees the section without cutting across the slices |
| A slice begins to tear | Stop and find the spiral cut again | Avoids pulling neighboring slices apart |
| The ham starts to move | Pause and reset the ham and fork | Keeps the cut controlled |
Use the easiest seam you can find, even if that means changing the angle of the knife. Let the spiral cuts guide you and avoid sawing back and forth across the face of the ham.
Hold the slices together as you transfer them
Support the loosened section with the carving fork or the broad side of the knife as you lift it. Set it down gently on the platter rather than pulling the slices apart one by one. If a few slices separate, arrange them together; they will still be easy to serve.
How do you turn the ham and release the remaining slices?
After you remove the first section, turn the ham to expose the next area around the bone. Keep the cut close to the bone and work with the seams already in the meat. If the ham feels less stable as it gets smaller, make shorter cuts and reset it on the board.
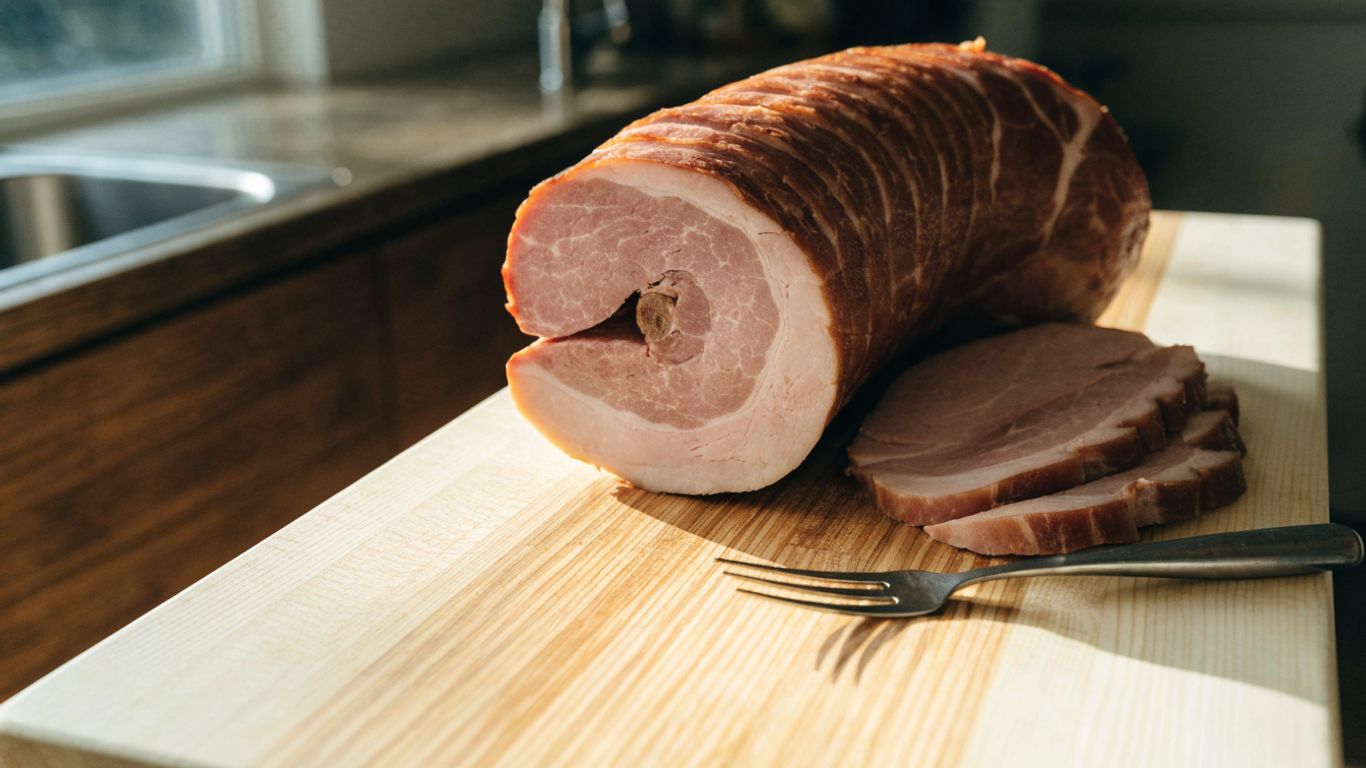
Rotate the ham to reach the other side
Use both hands or the fork and knife to turn the ham slowly, keeping it on the board. Do not lift it by a loose section of slices, which can pull them apart. Set the newly exposed side where you can see the bone and reach the seams without stretching over the blade.
Cut along the bone to loosen the next section
Run the knife beside the bone to separate another connected section, then follow the nearest spiral seam. If the bone curves, let the blade follow that curve in short strokes. You can repeat the same process around the ham, releasing only as much meat as you can transfer comfortably.
Work in smaller sections if the ham shifts
A partly carved ham can become awkward to hold. When it starts to wobble, pause and make the next release smaller rather than trying to cut through a large section in one pass. A simple sequence keeps the work controlled:
- Stop cutting and set the knife down safely.
- Reposition the ham on its broadest stable side.
- Secure it again with the carving fork.
- Resume with a short cut along the bone and seam.
Once the ham is steady, continue around the bone. There is no prize for removing the largest section in one go; intact slices are more useful on the platter.
How do you remove the meat left around the bone?
When the large sections are off, inspect the bone for meat that remains attached. Use the knife carefully to remove larger pieces, then trim smaller bits for serving or later meals. The scraps may not form neat slices, but they are still useful.
Slice larger pieces away from the bone
Hold the bone securely with the fork and cut larger pieces free with short strokes. Keep the knife pointed away from your supporting hand, and avoid twisting the bone while the blade is engaged. Set the pieces aside for slicing or serving as smaller portions.
Trim smaller pieces for serving or leftovers
Cut small pieces from the bone only where the knife has clear access. Keep those pieces separate from the neat slices if you want to use them in sandwiches, eggs, or another meal. If you do not plan to serve them immediately, place them in a clean container rather than leaving them on the carving board.
Save the bone for broth or soup
If you plan to use it, refrigerate the bone promptly or freeze it in a sealed container for later. The bone can add flavor to broth or soup, but keep it chilled while you decide what to make. Discard it if it has been left at room temperature beyond the safe serving window.
How should you serve and store the carved ham?
Arrange the released slices on a platter and keep the meat covered when it is not being served. A warmed platter can help the ham stay pleasant at the table, but the ham itself does not need to be piping hot to be served. For food safety, refrigerate leftovers within two hours, following USDA guidance.
Arrange slices on a warm platter
Fan the slices loosely so guests can lift them without pulling apart a tight stack. Put larger pieces near the center and smaller pieces around the edges, where they are easy to reach. If you warm the platter, make sure it is intended for that use and handle it carefully.
Keep the meat covered while serving
Cover the platter loosely with foil when the ham is waiting between servings. This helps limit drying while keeping the slices accessible. Avoid leaving the platter out longer than needed, especially in a warm room.
Refrigerate leftovers promptly in a sealed container
Transfer leftovers to a shallow, sealed container and refrigerate them within two hours of serving, or sooner if the room is especially warm. USDA food-safety guidance generally recommends using refrigerated leftovers within three to four days. Keep the bone separate if you are saving it for soup, and label the container with the date so it does not become an unidentifiable fridge mystery.
What to remember when you carve a spiral ham
Carving a spiral ham is mostly a matter of finding the bone, working along the natural cuts, and keeping the ham steady as you turn it. Take your time, release manageable sections, and save the meat around the bone for another meal.
Frequently Asked Questions
Do you cut a spiral ham with or against the grain?
Follow the spiral cuts that are already in the ham rather than making broad cuts across the slices. When trimming loose pieces, cut them into portions that are easy to serve.
Should a spiral ham rest before carving?
If you have just heated it, let it rest briefly so it is easier to handle. Follow the package directions for the specific ham.
What knife should you use to carve a spiral ham?
Use a sharp carving knife long enough to make controlled cuts beside the bone. A carving fork helps steady the ham while you work.
How do you keep spiral ham slices from falling apart?
Cut close to the bone, then follow the ham’s existing seams. Lift each released section with support from a fork or the broad side of the knife.
Which side of a spiral ham should face down?
Set it on its broadest stable side, then adjust the position so you can reach the bone comfortably. The best position is the one that keeps the ham from rocking.
Can you carve a spiral ham while it is cold?
Yes. A spiral ham can be carved cool if that is how you plan to serve it; follow its package directions for storage and serving.
How long can leftover ham stay in the refrigerator?
USDA guidance generally recommends using refrigerated leftovers within three to four days. Refrigerate the ham within two hours of serving and keep it in a sealed container.
What should you do next?
- Let a hot ham rest briefly, then remove the packaging and picks.
- Set it on a stable cutting board with the bone easy to reach.
- Cut close to the bone and follow the spiral seams rather than sawing across slices.
- Turn the ham as needed, then trim the meat left around the bone.
- Serve promptly and refrigerate leftovers within two hours. For other roasts, see how to carve a leg of lamb and how to trim a pork loin.